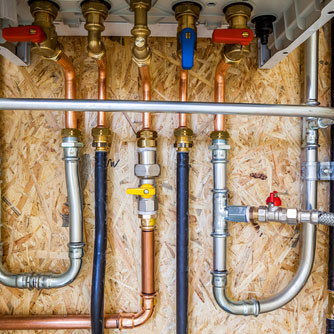
How to Solder Copper Plumbing Pipes
Kapp Alloy & Wire offers a variety of solders and flux for all your plumbing needs. Soldering your plumbing pipes together with Kapp solder creates a strong, long lasting joint that prevents leakage. Below you will find step by step instructions on soldering joints for Copper plumbing pipes using Kapp solder.
Materials Needed
- Appropriate Lead-Free Kapp Alloy solder
- Matching Kapp flux
- Pipe
- Connectors
- Pipe cutter
- Insulated gloves
- Sandpaper/Emory Cloth
- Wire brush
- Pipe plug
Recommended Solders from Highest to Lowest Strength
*The appropriate solder for your application is dependent on a variety of situational factors. Review each solder carefully, and contact Kapp Alloy for any assistance.
Recommended Flux
- Kapp Comet™ - for lower temperature applications
- Kapp CopperBond™ - for higher temperature applications
Procedure
- Determine how long your pipe needs to be and cut to length using the pipe cutter.
- Use sandpaper/Emory cloth to smooth the rough edges of the cut and remove any loose shavings.
- Verify that your components will fit together by placing the pipe inside the connector.
- Proceed to drain all water from the pipe and verify that it is dry. This can be done by tipping the pipe so that the water flows out of it or using a dry, clean cloth.
- Clean the areas of the pipe that will be joined together using the wire brush to remove the oxidation buildup from the metal. Be sure to get a nice, clean shine before proceeding.
- After cleaning the pipe, remove any dirt or oxide with a clean rag to prepare for the flux.
- Insert a pipe plug to prevent water leakage.
- Put on protective gloves and flux the joint area on all of the parts you will be joining.
- Create the new assembly by connecting your fluxed pieces together.
- Use your torch to heat up the fitting. To do this, hold your torch approximately 3 inches away from the fitting and heat evenly. Keep the tip of the blue flame cone about 1 inch away from your parts (see picture below). To avoid overheating the flux, don’t heat the joint area directly. Heat next to the joint area and heat all the way around the pipe. The pipe is ready to be soldered when the flux begins to sizzle and smoke slightly.
- When the flux begins to bubble and turn brown, you can apply your solder. DO NOT directly heat the solder; doing so will result in an ineffective joint. Instead, simply touch the solder to the hot metal to melt it. When the solder melts, pull the heat away from the joint area. Trace around the entire joint with the solder wire. The solder follows the heat. You heat next to your joint to draw the solder into the joint as it melts.
- Repeat this procedure on other joints as they reach the soldering temperature.
- Allow the joint area to cool.
- Clean the soldered joint area by wiping it down with a wet rag.
- Finally, turn on the water and make sure your pipe does not leak.

